Ok, the wait is over, the window treatments have been found and this room is finished! I love this room, everytime I walk upstairs and catch a glimpse of the walls, I get a little giddy.
Here is what the room originally looked like, it was really a lovely sea glass green. Let’s just call it a bad paint color choice made while pregnant.


I only have two pictures of this room, I thought I had more but I can’t find them. I think I say that for every room reveal. I really need to organize my photos but that’s another project for another day or maybe another year. Does anyone else throw their photos in a bin and quick shut the lid before they throw up all over the floor? I know Jen at I Heart Organizing just did a photo organizing challenge a few months ago so if you are looking to organize your photos, head over and see her blog, it’s full of great stuff! Back to the room, I get easily sidetracked. Maybe that’s why I have a hard time finishing projects.
Anyways, on to the finished project!


Here’s the before and after:
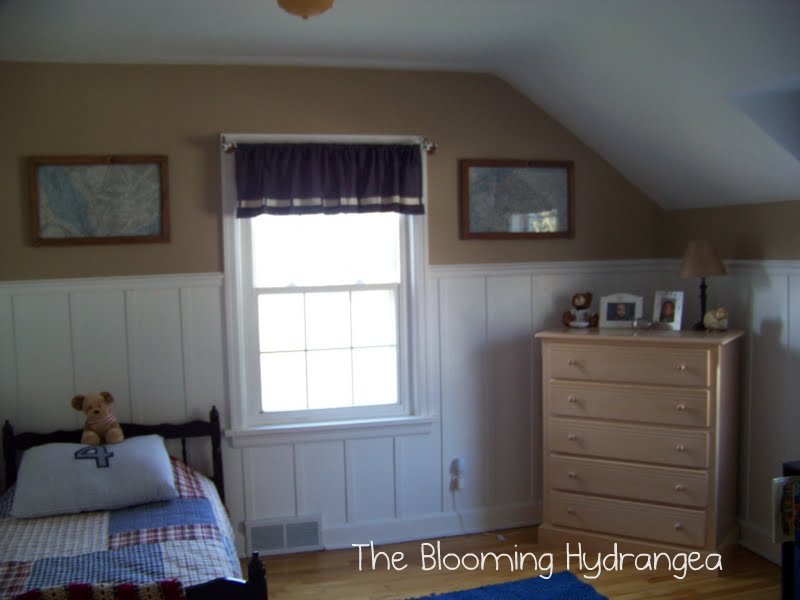
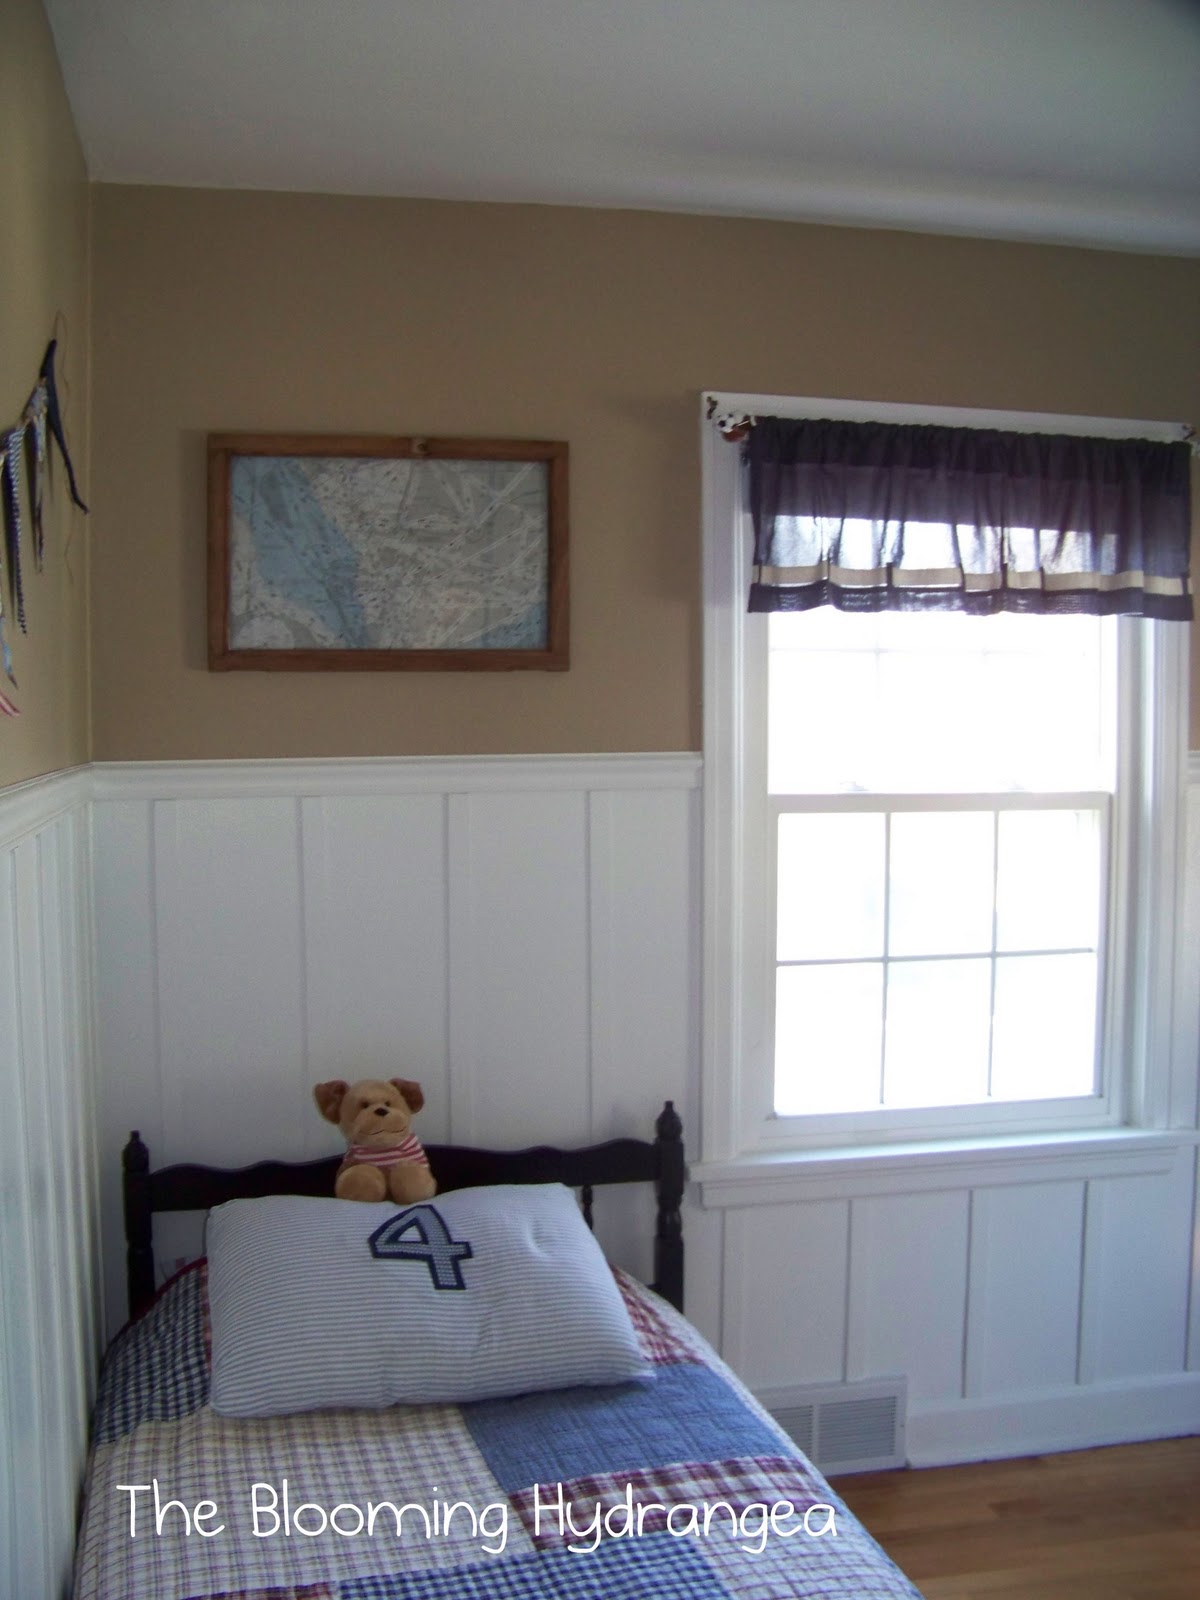
I didn’t want to spend a lot of cash on this room and I think I did a decent job of that. The lattice strips were $7.38 for a bundle and I didn’t even use them all for this room. I primed and painted the strips before we nailed them to the wall. Hubby also cut them all to uniform length so they would match up vertically with the chair rail. We measured about every 11 inches apart on the wall for the strips. After hubby used the air nailer to nail them to the wall, we used some chair rail leftover from the kitchen project and cut and nailed that to the wall above the strips. We filled in holes and gaps with caulk but seeing as the strips are very narrow there wasn’t much of a gap between the wall and the lattice strips. I then painted the wall white underneath the chair rail which helped fill in any gaps between the wall and the lattice as well.
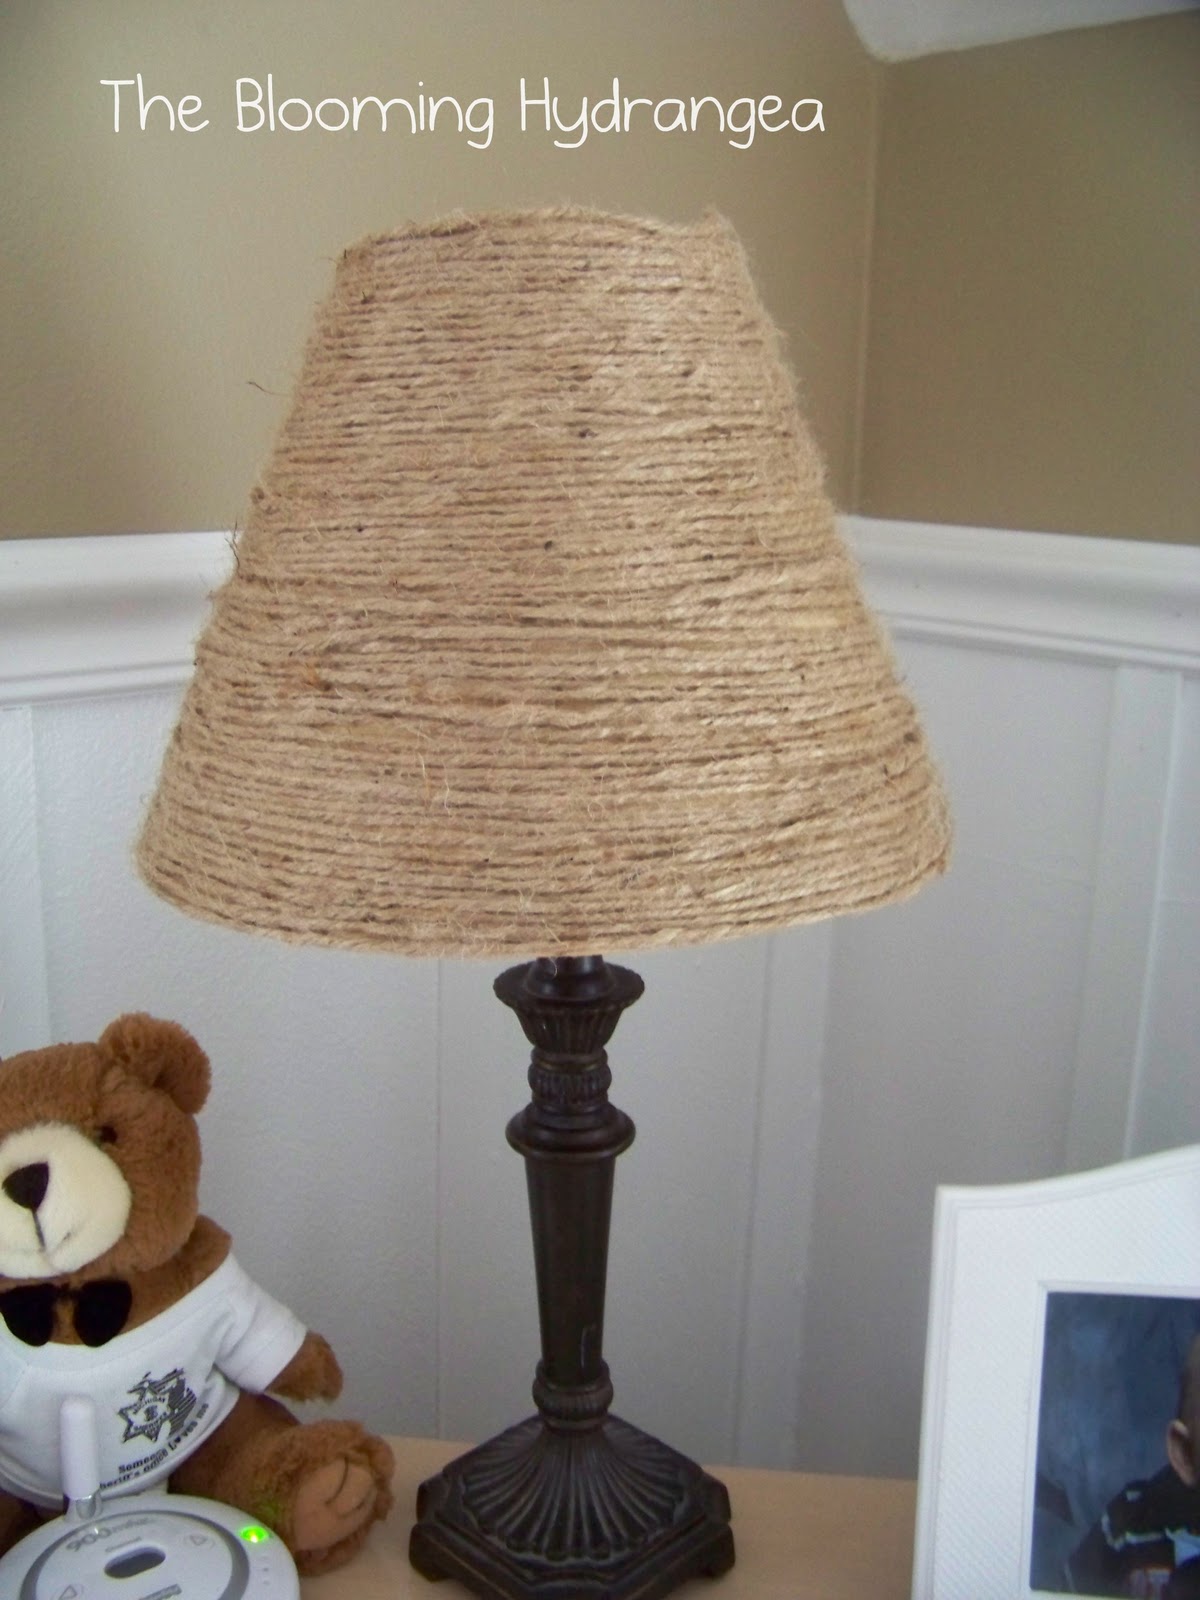
The lamp I redid with some jute for $2. I sprayed the shade with some adhesive spray, then wrapped the jute around the shade, spraying sections of the lamp as I went until it was done.
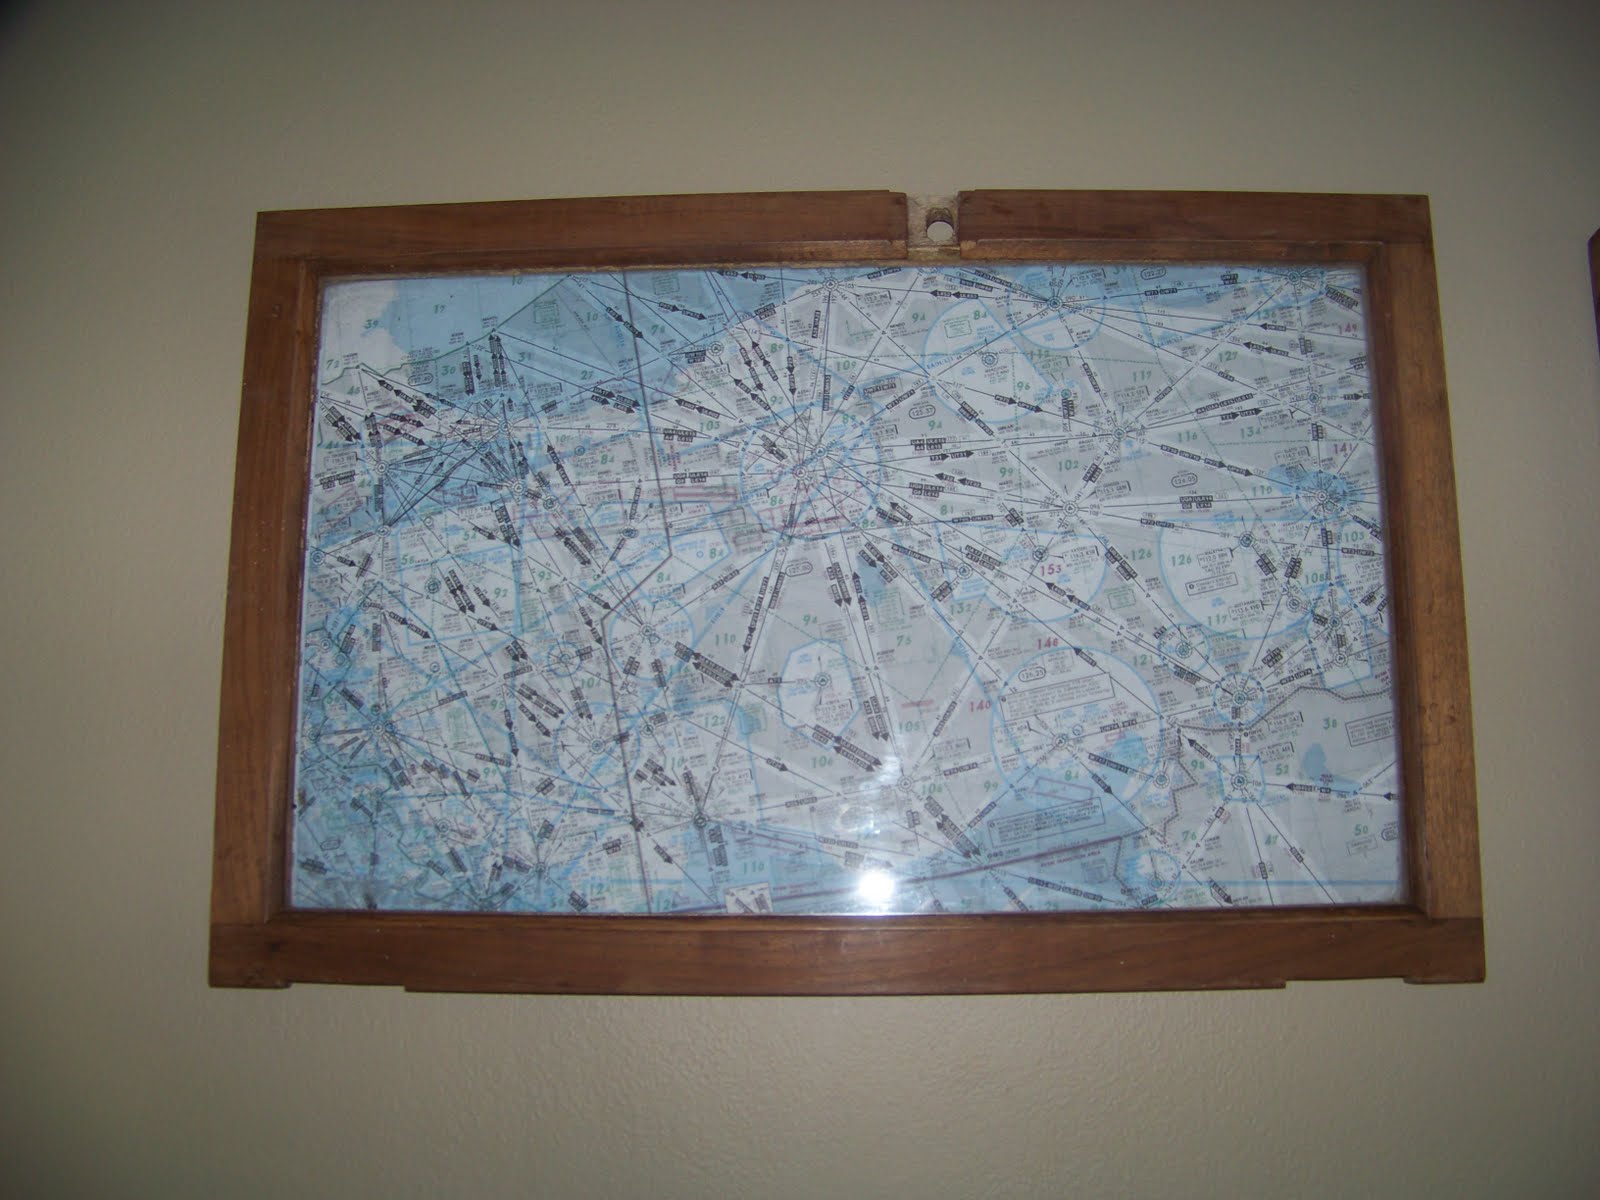
The pictures are flight maps that someone gifted to us, the frames for the flight maps were $1 each and are old black walnut door fronts from a store. I cut the maps to size and fit them in the door front and cut pieces of cardboard to fit in the back to hold the maps in place.
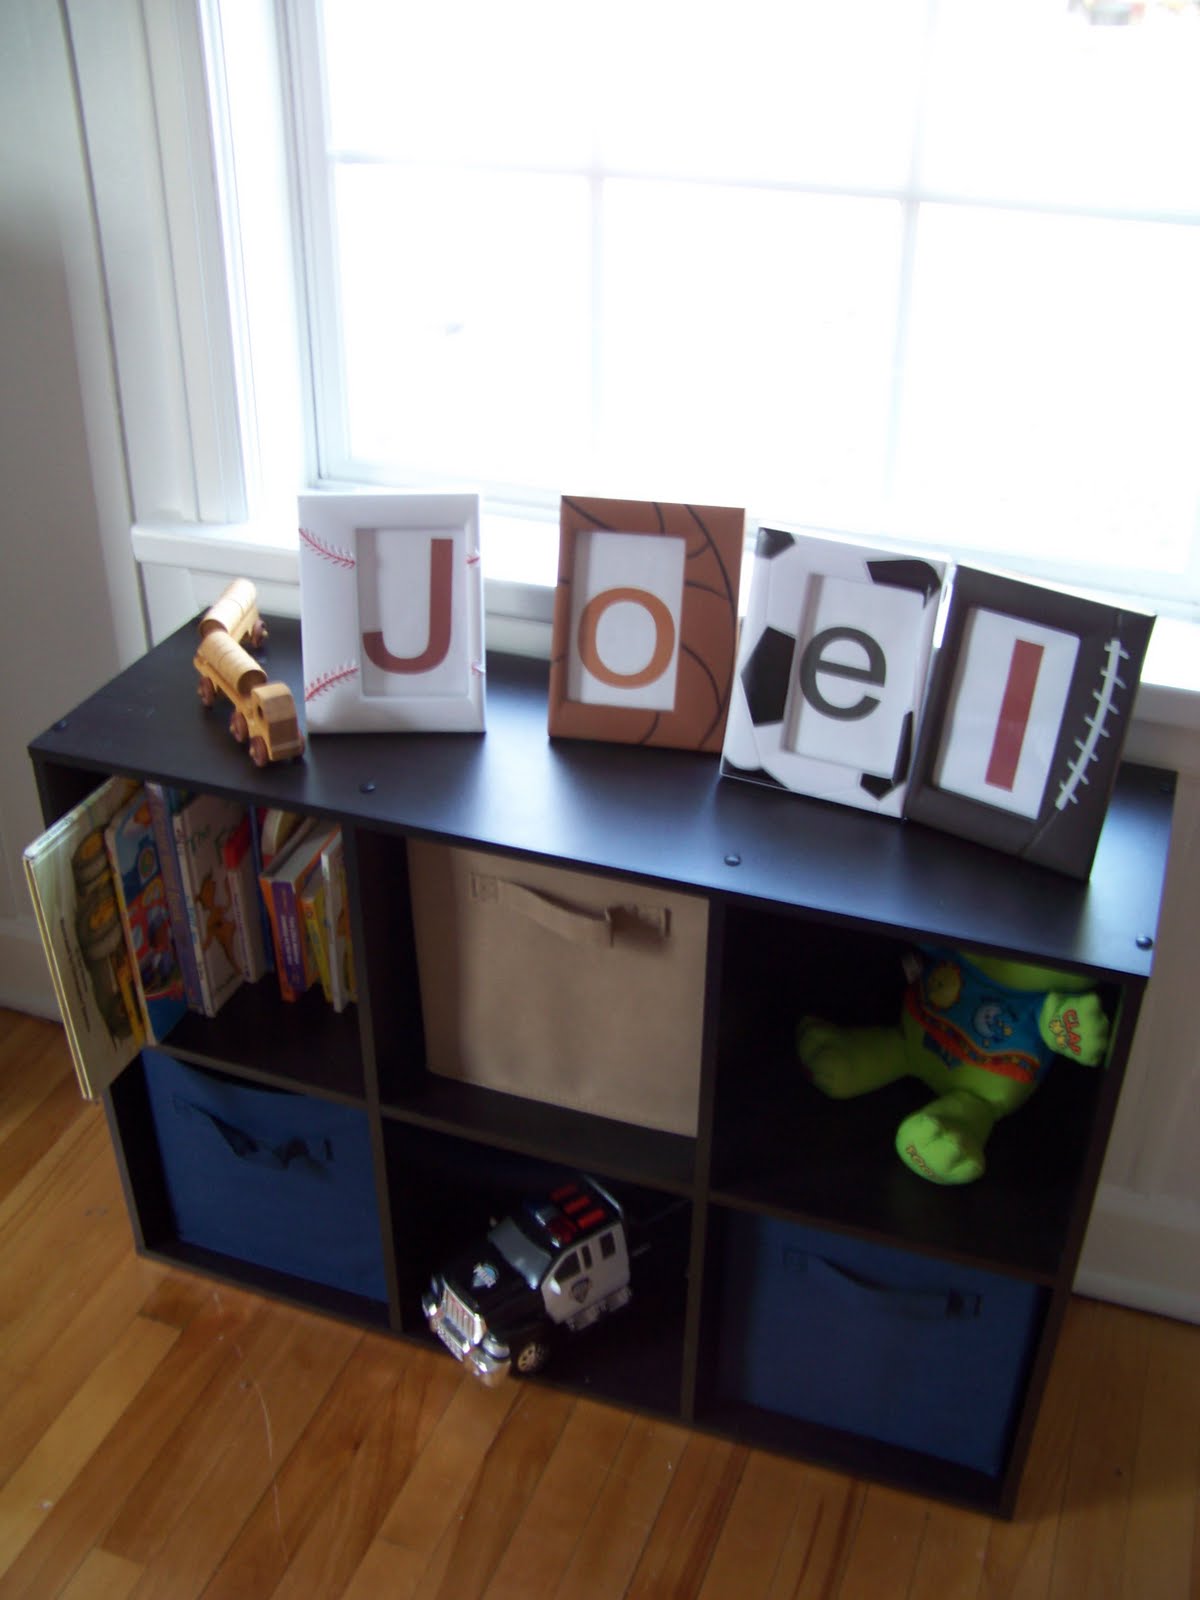
The picture frames with his name were from the dollar section at Target. I made the letters on Google docs and then printed them out on our printer and cut the paper to fit the frame, so total for that was $4.
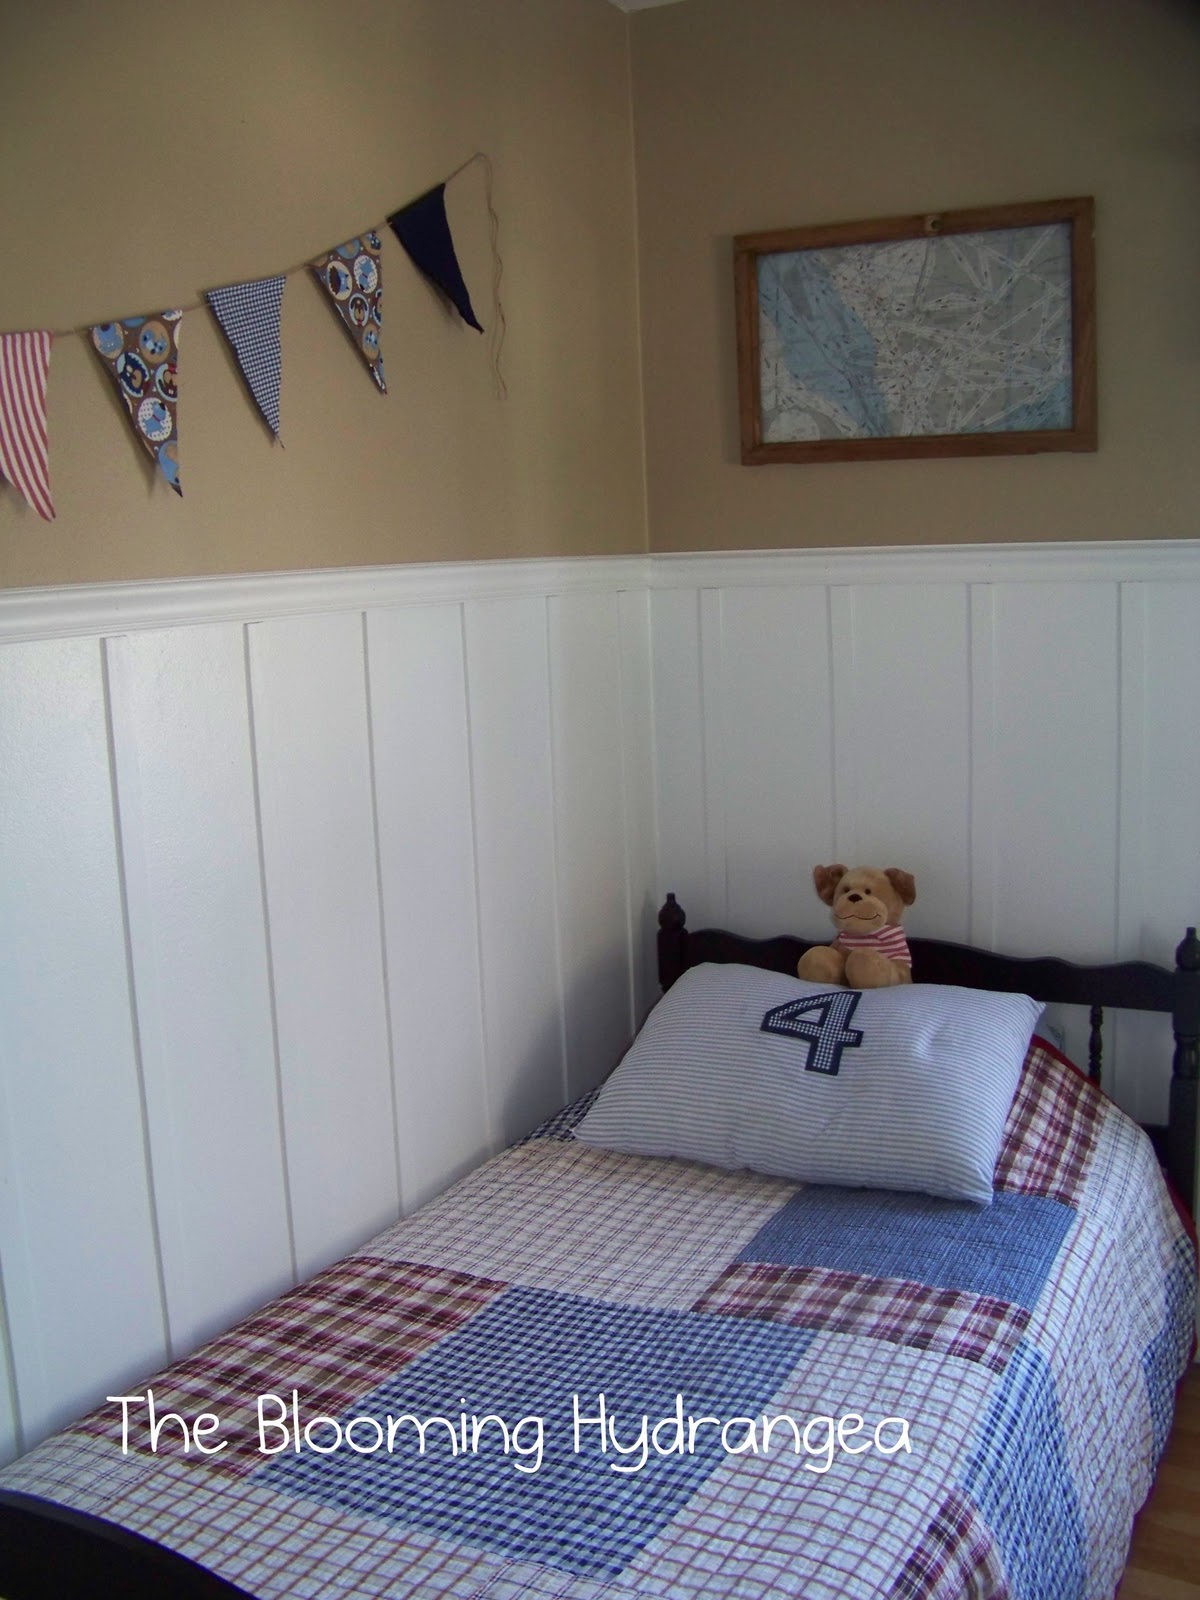
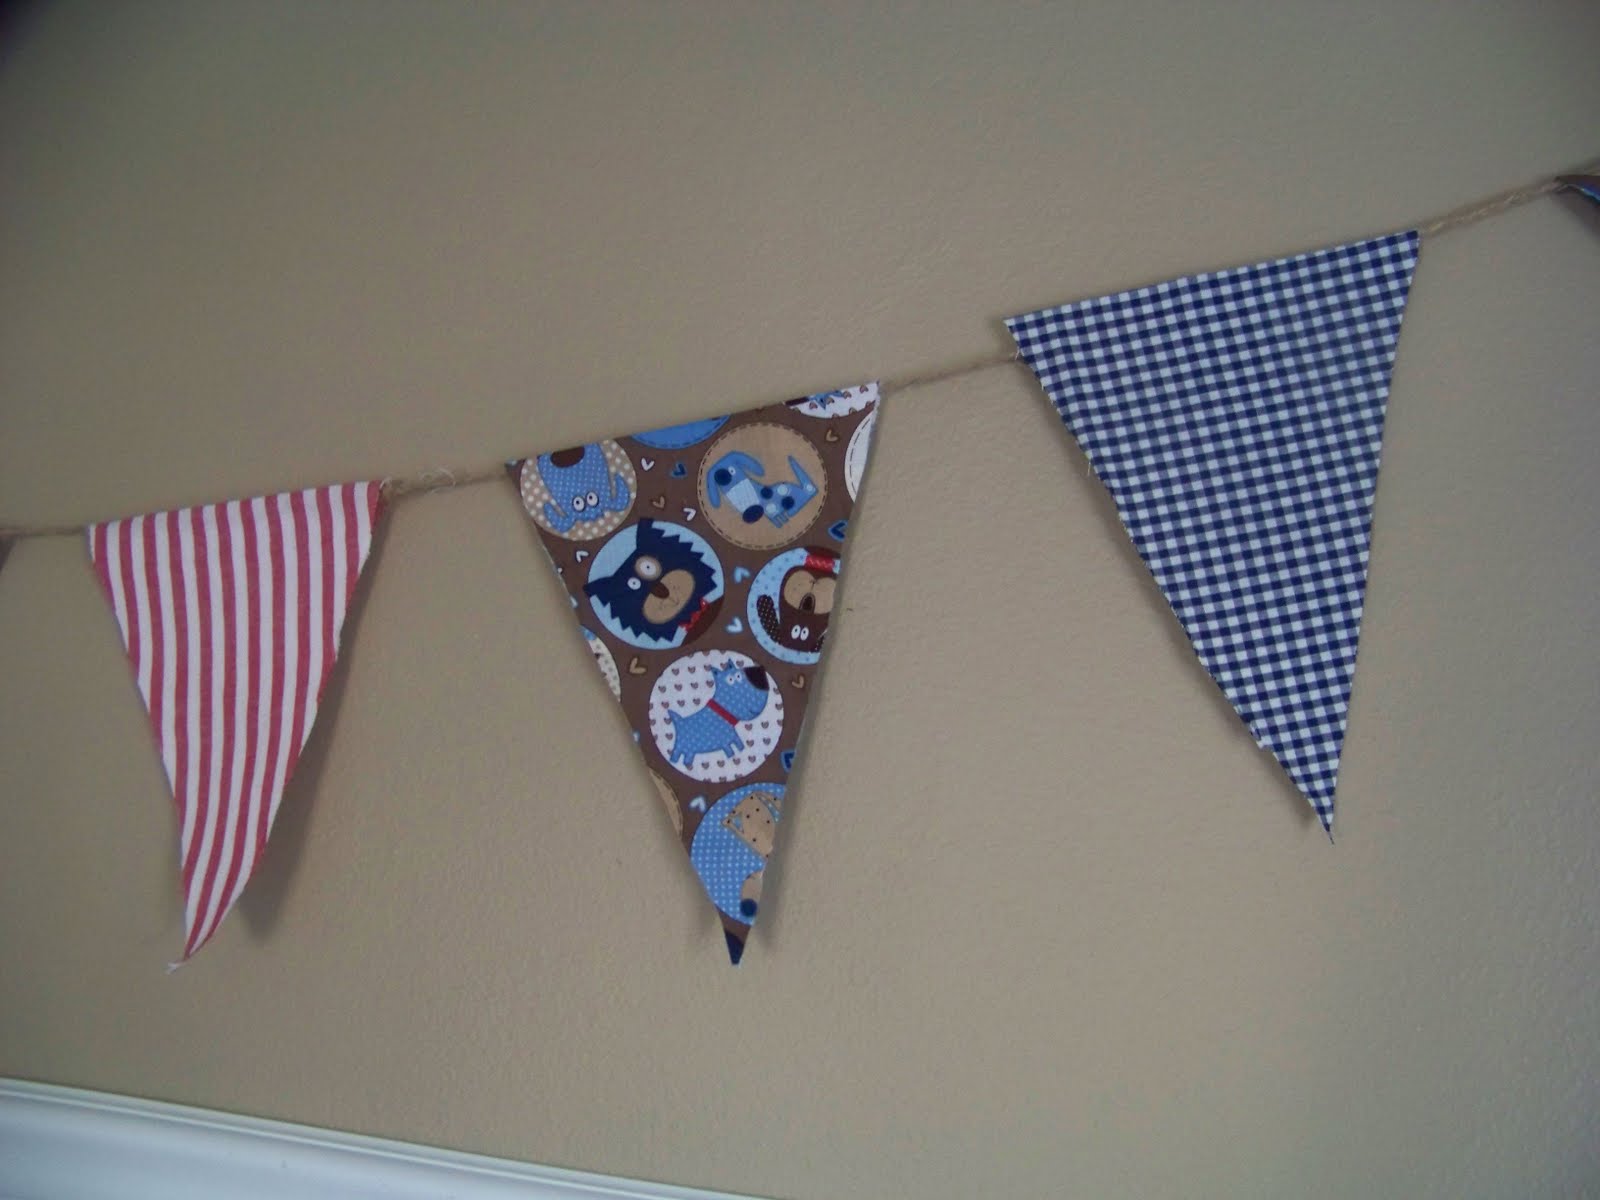
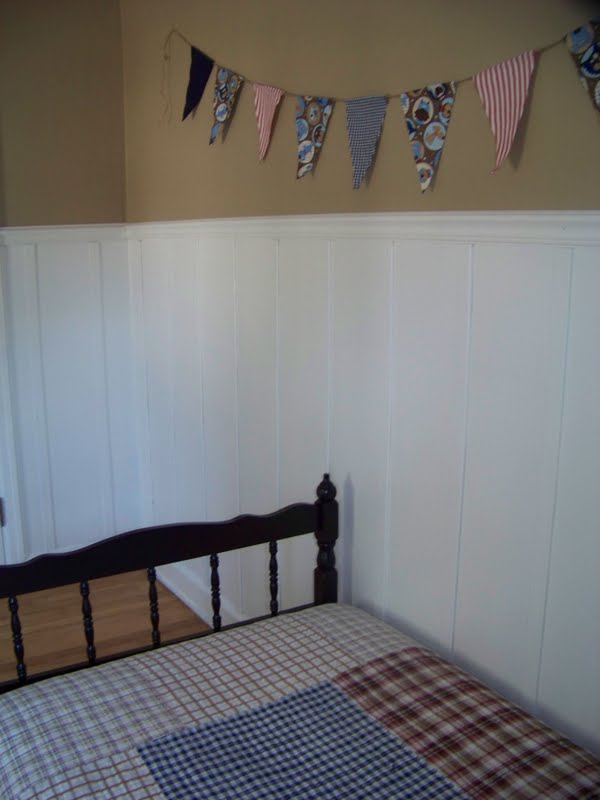
I made the flag pennant/bunting thing with some material that cost about $6 total. I made a diamond shape out of cardboard, traced the diamond pattern onto the fabric, sprayed adhesive on the backside of the diamond fabric and then folded it over the jute twine (leftover from the lamp) with the widest part of the diamond shape at the top.
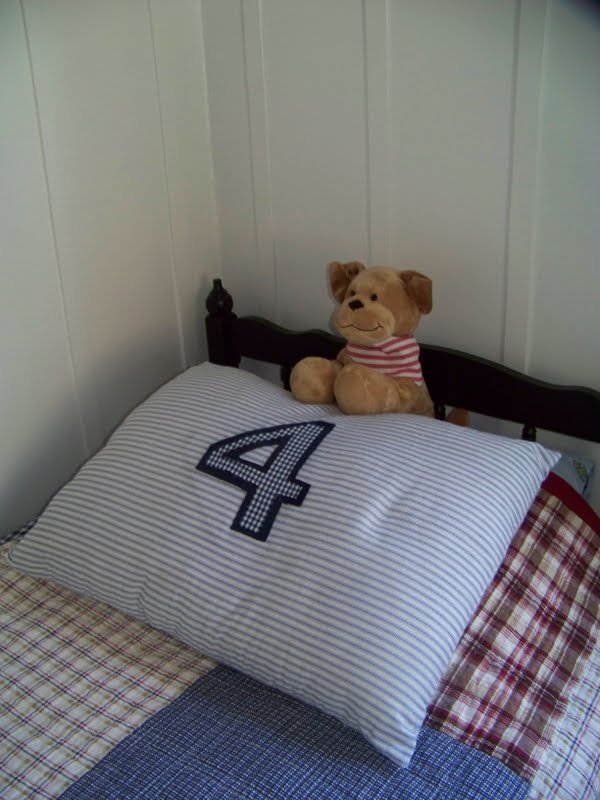
I made the pillow for the bed for about $6, the rug was $17 on clearance at Target and the quilt was from TJ Maxx for $29. The dresser was gifted to us, the cubeicle I purchased for $50 and the fabric bins for that were $18. I purchased two gallons of paint for a total of $52 and the valances were $11 each from Shopko.
Grand total for this room: $199.00 Woo hoo!
I’m linking up here:


Awesome job Ange! I love the walls! 🙂
You are amazing!! Love it!! Zoe's room is that same green that's in the nursery…I actually like it. 🙂
I'm wow-ed at the result! love the new look of the nursery, i love the bunting and the decorations, love it!
I'm following you from homemakeronadime Creative Bloggers' and Hop!
Susan @ http://tea-diary.blogspot.com
It looks great! I bet he loves it!!
Wow so cute! From baby's room (which was very cute, I might add) to big boy's room. Really great. Love all your frugal projects.
I just saw you at Homemaker on a Dime and am your newest follower. I love what you did with this room! It looks great, and I'm so impressed you did it on such a reasonable budget. Love the little workbench too…my 2 year old would be all over that.
Amy
http://oneartmama.blogspot.com
I had to do a double take at your thumbnail, it looks so much like my son's bedroom makeover I just did a couple months ago! Take a peak at it if you want, http://www.paintedparlor.blogspot.com -look for 'Boy's Bedroom Makeover.' Looks great!
julie
It looks sooooo awesome Ange! Totally worth the wait to get to see it. 🙂 You truly did a fabulous job and this is the perfect room for him to grow with. Love the lampshade and LOVE the pennant banner!
Vanessa
You did a great job. It looks great. Love the new walls! Your newest follower. Hope you can visit me sometime soon.
Such an awesome job! He has so much room to move and play……You used your esources so well and you should be proud. Love the jute lampshade…thanks for the inspiration! Worth the wait for sure…can't wait to see what you are working on next 🙂
Have a great week
That room is amazing! Great job! I'm in love with the walls 🙂 Thats exactly what I plan to do to our laundry/mudroom later this week 🙂
Found you through the Creative bloggers party hop 🙂 New follower & can't wait to see more!
Trisha
Awesome room! I love those sweet framed letters 🙂
Thanks for visiting FFL today 🙂
Lina
Gorgeous! I love the wall treatment and the pennant is fantastic! The valance is perfect and I like the little tool bench.
Fun stuff, love it, Ange! The lamp too!
It looks wonderful and was worth the wait. I love what you did to the walls.
What a great job you did, I absolutely love the wooden slats on the walls to bring in the 3D look! You are so creative and thrifty!
Way-to-go, Ange! Now, you just need that b-ball hoop from our home and he'll be set!
I love this! You did an amazing job….and on a budget! I am in love with the board & batten…I'm trying to find a room to use it in (our bedroom needs an update…maybe?)
I joined up to foloow your blog! Hope you come and check out mine too!
Susan
http://journalingmywaythrough2010.blogspot.com/
* follow (sorry spelling error)
that is a darling little boy's room! Where are all the toys stored? if you have a toy storage secret I want to know it!!
thanks for the visit! I'm following so I can learn all your secrets!!
Awesome job! Love the walls…and the budget! Way to go!
This room has a huge WOW factor! Really appreciate you sharing this great post with us at the Creative Bloggers' Party & Hop.
I LOOOOOOOOOOOOOOOOOOOOOOOOOOOOOVe it!
I also LOOOOOOOOOOOOOOOOOOOOOOOOOOOOOOOOVe your new blog look! Love the name you picked.
<3 Traci @ Ordinary Inspirations
Love the bunting and the bed! The room looks great!
Awesome job!! Very cute 🙂 Love the banner and the jute lamp shade!
I'm addicted to pennant banners–love yours. And the rest of the room too.
awesome job! I love nurseries. it looks awesome, so simplistic and beautiful.
I'm a follower!
kathryn
http://www.thedragonsfairytail.blogspot.com
You did a magnificent job, Ange! I love the walls too. The paint color and the bead boarding. It is simple and just right for a little boy. Congrats, my friend!
Hi Ange! I still can't believe how little this room makeover cost! Just coming back over to check it out again and say thanks for linking it up to Inspiration Friday this week. You truly did an fabulous job on it! 🙂
Vanessa
Hey Ange,
I thought I would stop in to see what you've been up to! LOve your little guys room… I too love finish work. well not doing it but the finished product:) YOu did a great job. the banner is my fave! keep up the work talented lady!
heidi
chickhardware.blogspot.com
Love the transformation! You did such a good job, and wow…way to get the most out of your money.
Great job Ange! You sure have been busy! I love the lamp shade and also the picture frames with his name in them – so clever!
Great job on your little boy's room. I love that you did it on a budget and it looks great! Lotsa function and style!
I love it! I am in the process of gathering items to redo my little boy's room. Thanks for the inspiration!!
I love this room so much I am featuring it at my Swing into Spring party tonight. Please stop by to pick up your "I've Been Featured" button. Thanks so much. BTW the party opens tonight at 8pm EST.
this turned out beautifully…and i am featuring this post at fridays unfolded today!
blessings,
alison
stuff and nonsense
What an adorable room! I couldn't believe that you just spent $199 for it. Great job!